Tire Patching Made Simple: Learn How to Fix a Flat
Dealing with a flat tire can be frustrating. But knowing how to patch a tire can save you time, money, and stress. Every driver should learn basic tire repair skills to get back on the road quickly and safely.
Tire punctures happen unexpectedly. Whether you’re driving through urban streets or rural roads, sharp objects can quickly compromise your tire’s integrity. Mastering the technique to fix a flat tire gives drivers confidence and practical problem-solving skills that can prevent roadside emergencies.
This guide will walk you through steps to patch a tire effectively. We’ll cover essential techniques, safety considerations, and professional insights. These methods will help you make informed decisions about when to patch versus when to replace a damaged tire.
By the end of this article, you’ll gain practical knowledge about tire repair. This knowledge empowers you to handle unexpected roadside challenges with expertise and calm. Let’s dive into the world of tire patching and equip you with valuable skills that can save you both time and money.
Understanding Tire Damage and When Patching is Appropriate
Tire damage can happen without warning, leaving drivers worried about safety. Knowing how to fix a tire can save money and avoid roadside troubles. It’s important to understand the different types of punctures and if patching is the best option.
Types of Tire Punctures and Damage
Not all tire damage is the same. Drivers face various puncture types that affect repair success:
- Small nail or screw punctures in the tire tread
- Sidewall cuts and tears
- Punctures larger than 1/4 inch
- Impact damage from road hazards
Safety Considerations Before Patching
Before fixing a tire, safety must be the top priority. Mechanics advise checking a few key things:
| Inspection Area | Safety Criteria |
|---|---|
| Puncture Location | Only repairable in tire tread area |
| Puncture Size | Maximum 1/4 inch diameter |
| Tire Condition | Minimal previous damage or wear |
| Structural Integrity | No significant sidewall damage |
When to Patch vs. When to Replace
Deciding between repair or replacement needs careful thought. Patching a punctured tire is good for small damages. But, big damage means you need a new tire. The location, age, and condition of the tire are key in this choice.
- Patch if: Puncture is small and in the tread area
- Replace if: Damage involves sidewall, multiple punctures, or significant wear
Essential Tools and Materials for Tire Repair
To fix a tire yourself, you need the right tools and materials. A good tire patch kit is key for safe and effective repairs on the road.

Quality equipment is vital for a successful tire patch. A top-notch tire patch kit usually has several important parts:
- Tire plug strips
- Rubber cement
- Valve core tool
- Tire pressure gauge
- Puncture repair rasp
When picking a DIY tire patch kit, look for these essential tools:
| Tool | Purpose | Recommended Type |
|---|---|---|
| Tire Plug Kit | Sealing punctures | Professional-grade rubber plugs |
| Air Compressor | Inflating tires | Portable 12V compact model |
| Tire Pressure Gauge | Checking pressure | Digital accuracy model |
Choosing a high-quality tire patch kit is smart for unexpected emergencies. Professional-grade tools make DIY tire patch repairs more reliable and efficient.
While the right tools are important, don’t forget about technique and safety. They are just as vital for safe tire repairs.
How to Patch a Tire: Step-by-Step Guide
Learning to patch a tire is a must for every driver. It saves time and money by fixing small punctures quickly and safely. This guide will show you how to patch a tire, so you can handle emergencies with confidence.
Before starting, make sure you have the right tools and materials. Patching a tire needs precision and attention to detail.
Locating the Puncture
Finding the exact spot of the damage is key for a good repair. Here’s how to find it:
- Look for visible damage or objects on the tire
- Use soapy water to find air leaks
- Listen for sounds of air escaping
Preparing the Tire Surface
Getting the tire surface ready is important. Follow these steps:
- Clean the area around the puncture well
- Take out any debris or foreign objects
- Use a tire roughing tool for better adhesion
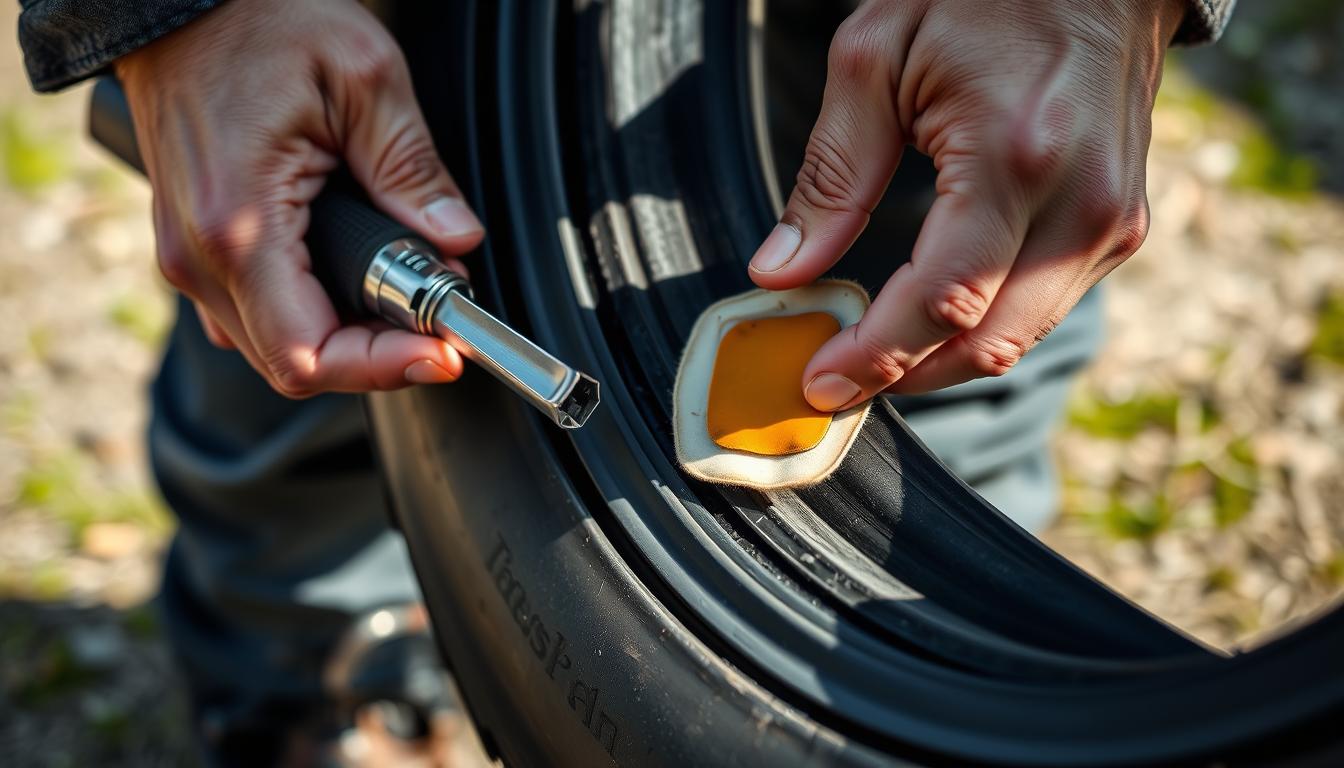
Applying the Patch Correctly
The last step is applying the patch with care. Here’s a quick guide:
| Step | Action | Details |
|---|---|---|
| 1 | Select Patch | Choose the right patch size for the puncture |
| 2 | Apply Cement | Put tire repair cement around the puncture |
| 3 | Position Patch | Put the patch right over the puncture |
| 4 | Press Firmly | Press out air bubbles for full adhesion |
Remember: Patching a tire needs patience and precision. If you’re not sure, get help from a mechanic.
Common Tire Patching Mistakes to Avoid

Tire maintenance can be tricky, even for DIY patches. Many car owners make mistakes that harm their tire’s safety and performance. Knowing these common errors can save you time, money, and prevent road hazards.
When doing a DIY tire patch, several mistakes can ruin your repair:
- Inadequate puncture assessment
- Using incorrect patch materials
- Skipping surface preparation
- Improper patch application techniques
Preparation is key for a successful tire repair. Failing to clean and roughen the puncture area can stop the patch from sticking. Always clean the damaged spot with special tire repair solutions. Then, use a rubber abrader to make the surface ready for bonding.
Choosing the right patch is also vital. Different tires and puncture spots need specific repairs. Radial tires, for example, need special patches. Using a universal patch might only fix it temporarily.
Some DIY tire patch mistakes can be very dangerous:
- Trying to fix big punctures
- Patching near the tire’s sidewall
- Using a patch more than once
- Not listening to professional advice
If you’re not sure about the repair, get a professional tire technician’s help. While DIY repairs can save money, safety is more important.
Professional Tire Repair vs. DIY Solutions

Deciding between professional tire repair and DIY can be tough. Knowing the differences helps you choose the best way to fix a flat tire safely and effectively.
Cost Comparison
Prices for tire repair differ a lot. Professional services cost between $20 to $50 per tire. On the other hand, DIY kits are cheaper, ranging from $5 to $20.
| Repair Type | Average Cost | Skill Required |
|---|---|---|
| Professional Tire Repair | $20 – $50 | None |
| DIY Tire Repair Kit | $5 – $20 | Basic mechanical skills |
Time and Effort Considerations
DIY tire repair takes up your time and needs basic mechanical skills. A pro can fix it in about 30 minutes. But, if you’re new to DIY, it might take 1-2 hours.
- Professional repair: Quick and efficient
- DIY repair: Requires personal time investment
- Learning curve for self-repair can be steep
Quality and Durability Differences
Professional tire repair is often more reliable. Experts use special tools to fix flat tires. This ensures strong patches and long-lasting tire health.
DIY fixes can work for temporary tire repair. But, they might not last as long or be as safe as a pro’s work. Plus, pros offer a guarantee, giving car owners more confidence in their repairs.
Maintaining Your Patched Tire for Longevity

After patching a punctured tire, keeping it in good shape is key. Drivers need to take steps to make sure the tire stays safe and works well for a long time.
Here are some important tips for keeping a patched tire in top condition:
- Regular pressure checks to maintain optimal inflation
- Weekly visual inspections for additional damage
- Avoiding aggressive driving conditions
- Monitoring tire performance after patching
Looking after a patched tire is more than just fixing the first hole. Careful observation and preventive care can really help it last longer.
Keep an eye out for these signs that might mean trouble:
- Persistent air pressure loss
- Visible cracks around the patch area
- Unusual vibrations while driving
- Uneven tire wear
Experts say to replace a patched tire if it gets too worn or damaged. Patching a tire can be a good fix for now, but safety always comes first.
Make a habit of checking your tire regularly. This way, you can spot any problems early. It helps keep your patched tire reliable and safe on the road.
Emergency Roadside Tire Repair Tips
Getting a flat tire can be stressful. But, knowing how to fix it can keep you safe and moving again fast. Emergency tire repair needs quick thinking and the right tools to protect you and your vehicle.
Dealing with a tire puncture is easier with a good plan. You need the right tools and basic repair skills.
Temporary Fix Solutions
For quick fixes, consider these options:
- Tire sealant spray for quick sealing
- Portable tire plug kit for temporary fixes
- Compact spare tire for quick swap
Safety Measures During Roadside Repairs
When fixing a tire on the side of the road, safety is key:
- Pull over to a flat, stable spot away from traffic
- Turn on hazard lights to warn others
- Use reflective triangles or warning lights if you have them
- Wear a high-visibility vest for safety
Remember, roadside tire repair is just a temporary fix. Always aim to get a professional repair or replacement as soon as you can. This ensures your vehicle stays safe and runs well.
Pro tip: Always have an emergency tire repair kit in your car. This simple step can save you a lot of stress and time when you face unexpected tire problems.
Prevention Tips to Avoid Future Flat Tires
Keeping your tires in good shape is key to avoiding flat tires and driving safely. By taking steps ahead of time, you can lower the risk of tire damage. This means you won’t need to patch tires as often.
Regular checks on your tires are essential for your vehicle’s health. Make it a habit to inspect your tires for any problems:
- Inspect tire pressure monthly
- Check tread depth using a penny test
- Look for visible signs of wear or damage
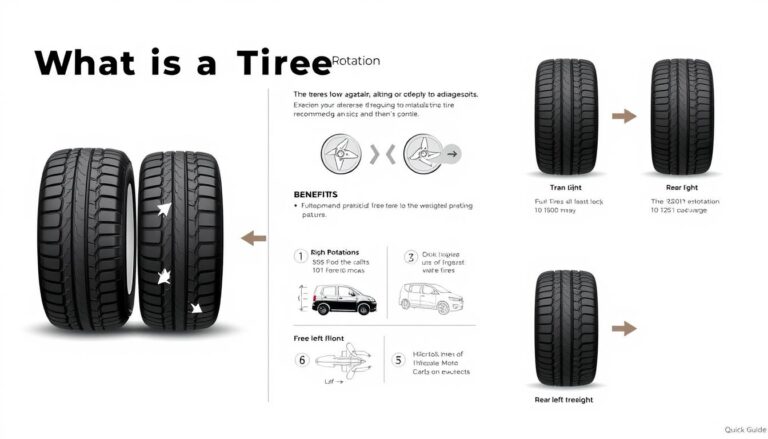
- Rotate tires every 5,000-7,500 miles
Keeping your tires at the right pressure is vital. If they’re not, they can wear out faster, use more fuel, and get punctures more easily. Use a good tire pressure gauge and keep the pressure as the maker suggests.
Being aware of road hazards is also important. Drivers should:
- Avoid driving over sharp objects
- Steer clear of construction zones
- Maintain a safe distance from debris
- Be cautious of potholes and uneven surfaces
Choosing high-quality tires from reputable manufacturers can dramatically reduce the likelihood of unexpected flats. Look for tires with strong puncture-resistant technologies and appropriate ratings for your driving conditions.
By following these tips, you can make your tires last longer, keep your vehicle safe, and cut down on emergency tire repairs.
Conclusion
Learning how to repair tires is a big help when you’re on the road. Knowing how to fix a puncture can save you money and time. It also keeps you safe from dangerous driving situations.
Fixing a tire is more than just putting on a patch. You need to know the right way to do it and when to get help. Every fix is different, depending on the tire and the puncture.
Being ready to fix a tire means having the right tools and knowing how to use them. It’s also about staying safe and knowing when to ask for help. DIY fixes are great, but safety always comes first.
Tire repair is a mix of knowing how to do it and being able to solve problems. By learning these skills, you can handle road problems with confidence.